Vinyl wraps are a great way to customize your car. Not only can you create unique designs and patterns, but you also have the option of changing the color of your vehicle without the need to paint it. Vinyl wrapping your car is a lot easier than you might think. With the right tools and some patience, you can complete the job in no time.
Materials Needed
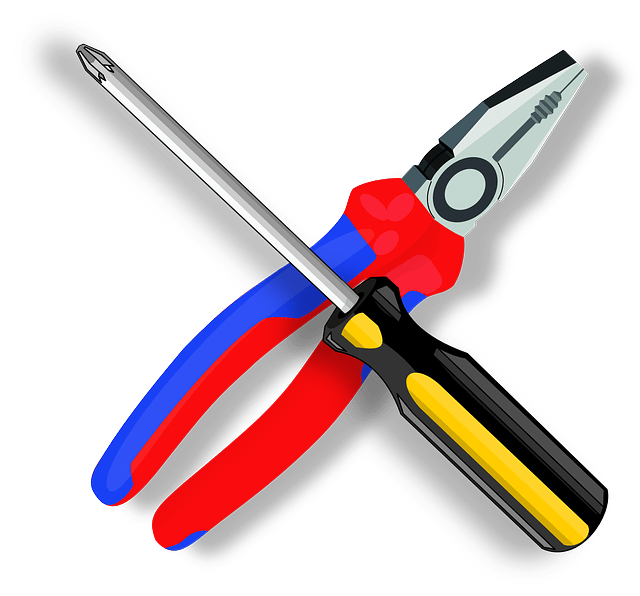
Before you begin, make sure you have all the tools and supplies that you need. These include the vinyl wrap, spray bottle, squeegee, heat gun, and an Exacto knife. Additionally, you may want to use masking tape and a soft cloth or towel.
Preparing the Car
The next step is to wash and dry your car. This will ensure that the surface is free from dirt and debris. Once the car has been washed, you should use a microfiber cloth to remove any residue from the surface.
Applying the Vinyl Wrap
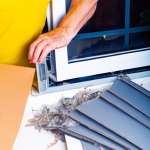
Now you’re ready to begin wrapping your car. Start by measuring the area you want to apply the wrap to. Cut the vinyl wrap to size, making sure to leave a few extra inches to account for any stretching.
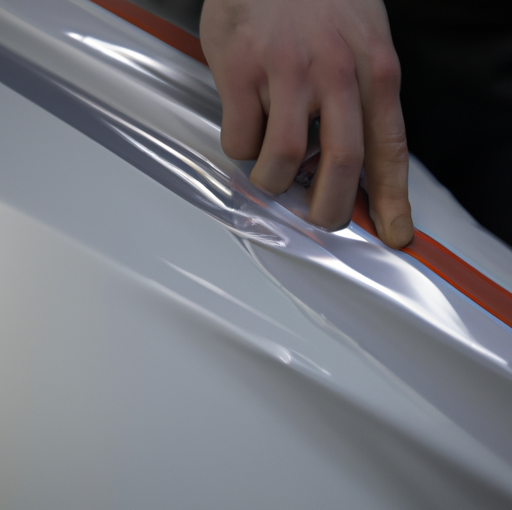
Spray the area with a solution of water and detergent. This will help the vinyl wrap adhere to the surface. Peel off the backing from the vinyl wrap and carefully place it onto the surface. Use a squeegee to smooth out the wrap and remove any air bubbles.
Once the wrap is in place, use a heat gun to heat up the vinyl and make it easier to stretch. This will also help it adhere to the contours of the car. If you need to, use an Exacto knife to cut off any excess vinyl.
Finishing Touches
Finally, use a soft cloth or towel to buff the wrap and remove any residue. If you want, you can also apply a protective coating such as wax or sealant to help protect the wrap for years to come.
Vinyl wrapping your car is a great way to customize it and give it a unique look. With the right supplies and a bit of patience, you can easily complete the job in no time.