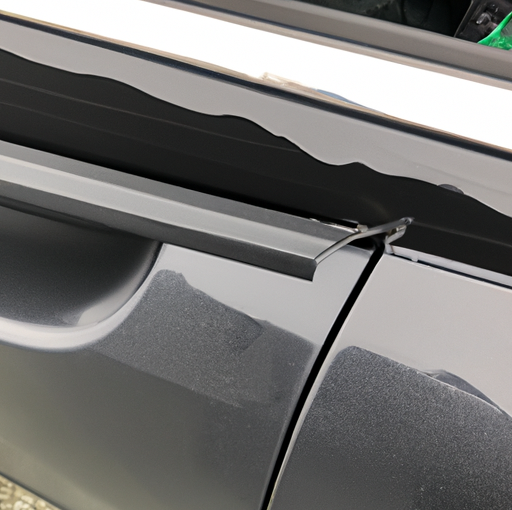
Black plastic trim is a feature of many cars, and restoring it after it begins to fade is a great way to give your vehicle a much needed facelift. While there are plenty of options for professional trim restoration, the process can be done yourself with a few simple steps. Here’s how to permanently restore black plastic trim DIY.
Preparation
The first step to restoring your vehicle’s black plastic trim is to prepare the area. Start by cleaning the trim with a mild soap and water solution. For stubborn dirt and grime, use a soft, non-abrasive brush to scrub the area. When you’re done, make sure to thoroughly dry the trim.
Cleaning
Once the trim is dry, it’s time to start cleaning. Use a plastic cleaner designed specifically for car trim. This will help remove any embedded dirt and grime and bring back the trim’s original shine. Follow the instructions on the cleaner’s packaging for best results.
Restoration
Now that the trim is clean and dry, it’s time to restore the black finish. To do this, use a plastic restorer that’s designed for automotive trim. Make sure to read and follow the instructions on the product’s packaging. Apply the restorer to the trim with a clean, soft cloth and allow it to dry.
Protection
The last step is to protect the trim from future fading. To do this, use a UV protectant. This will help to keep the trim looking like new for longer by blocking out the sun’s damaging UV rays. Simply spray the protectant onto the trim and allow it to dry.
By following these simple steps, you can restore your vehicle’s black plastic trim yourself. Not only is it a cost-effective solution, but it also allows you to take pride in the results of a job well done. With some patience and the right materials, you can permanently restore your car’s trim and give it a much needed facelift.