
DIY projectors are a great way to make use of old or broken parts and create something new and useful. They are also an excellent way to teach yourself about the basics of electronics and how they work. If you’ve ever wanted to build your own projector, this guide will help you get started.
Gather Materials
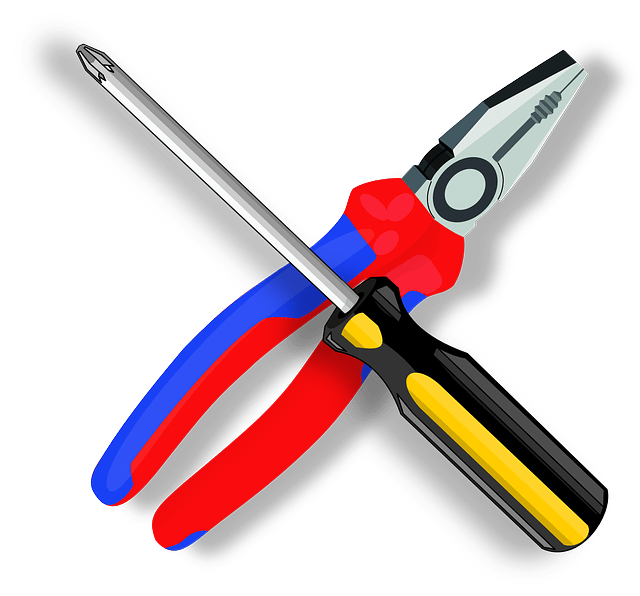
Before getting started on your DIY projector, you’ll need to gather a few materials. These include: a broken or old laptop, a light source (such as an LED flashlight or a light bulb), a focusing lens, and a power source. You’ll also need some basic tools, such as a screwdriver, a utility knife, and a soldering iron.
Prepare the Projector
Once you have all the materials you need, you’ll need to prepare the projector. The first step is to open up the laptop and remove the LCD screen. You’ll need to remove any wires or other components that are connected to the screen. Once it’s removed, you’ll need to locate the backlight of the LCD screen. This is usually a thin, white plastic sheet. You’ll need to carefully remove this sheet and set it aside.
Assemble the Projector
Now it’s time to assemble the projector. Start by attaching the light source to the LCD backlight. You can use a soldering iron to make sure the connection is secure. Once the light source is attached, you’ll need to attach the focusing lens to the backlight. This will help focus the light from the source onto the screen.
Test the Projector
Once the projector is assembled, it’s time to test it out. Plug in the power source and turn it on. You should see a bright light coming from the projector. If everything is working correctly, you should be able to adjust the focus of the lens to get a clear image on the screen.
Making a DIY projector is a great way to learn about electronics and to make use of old or broken parts. With the right materials and a bit of patience, you can build your own projector and enjoy your favorite movies and shows in the comfort of your own home.

